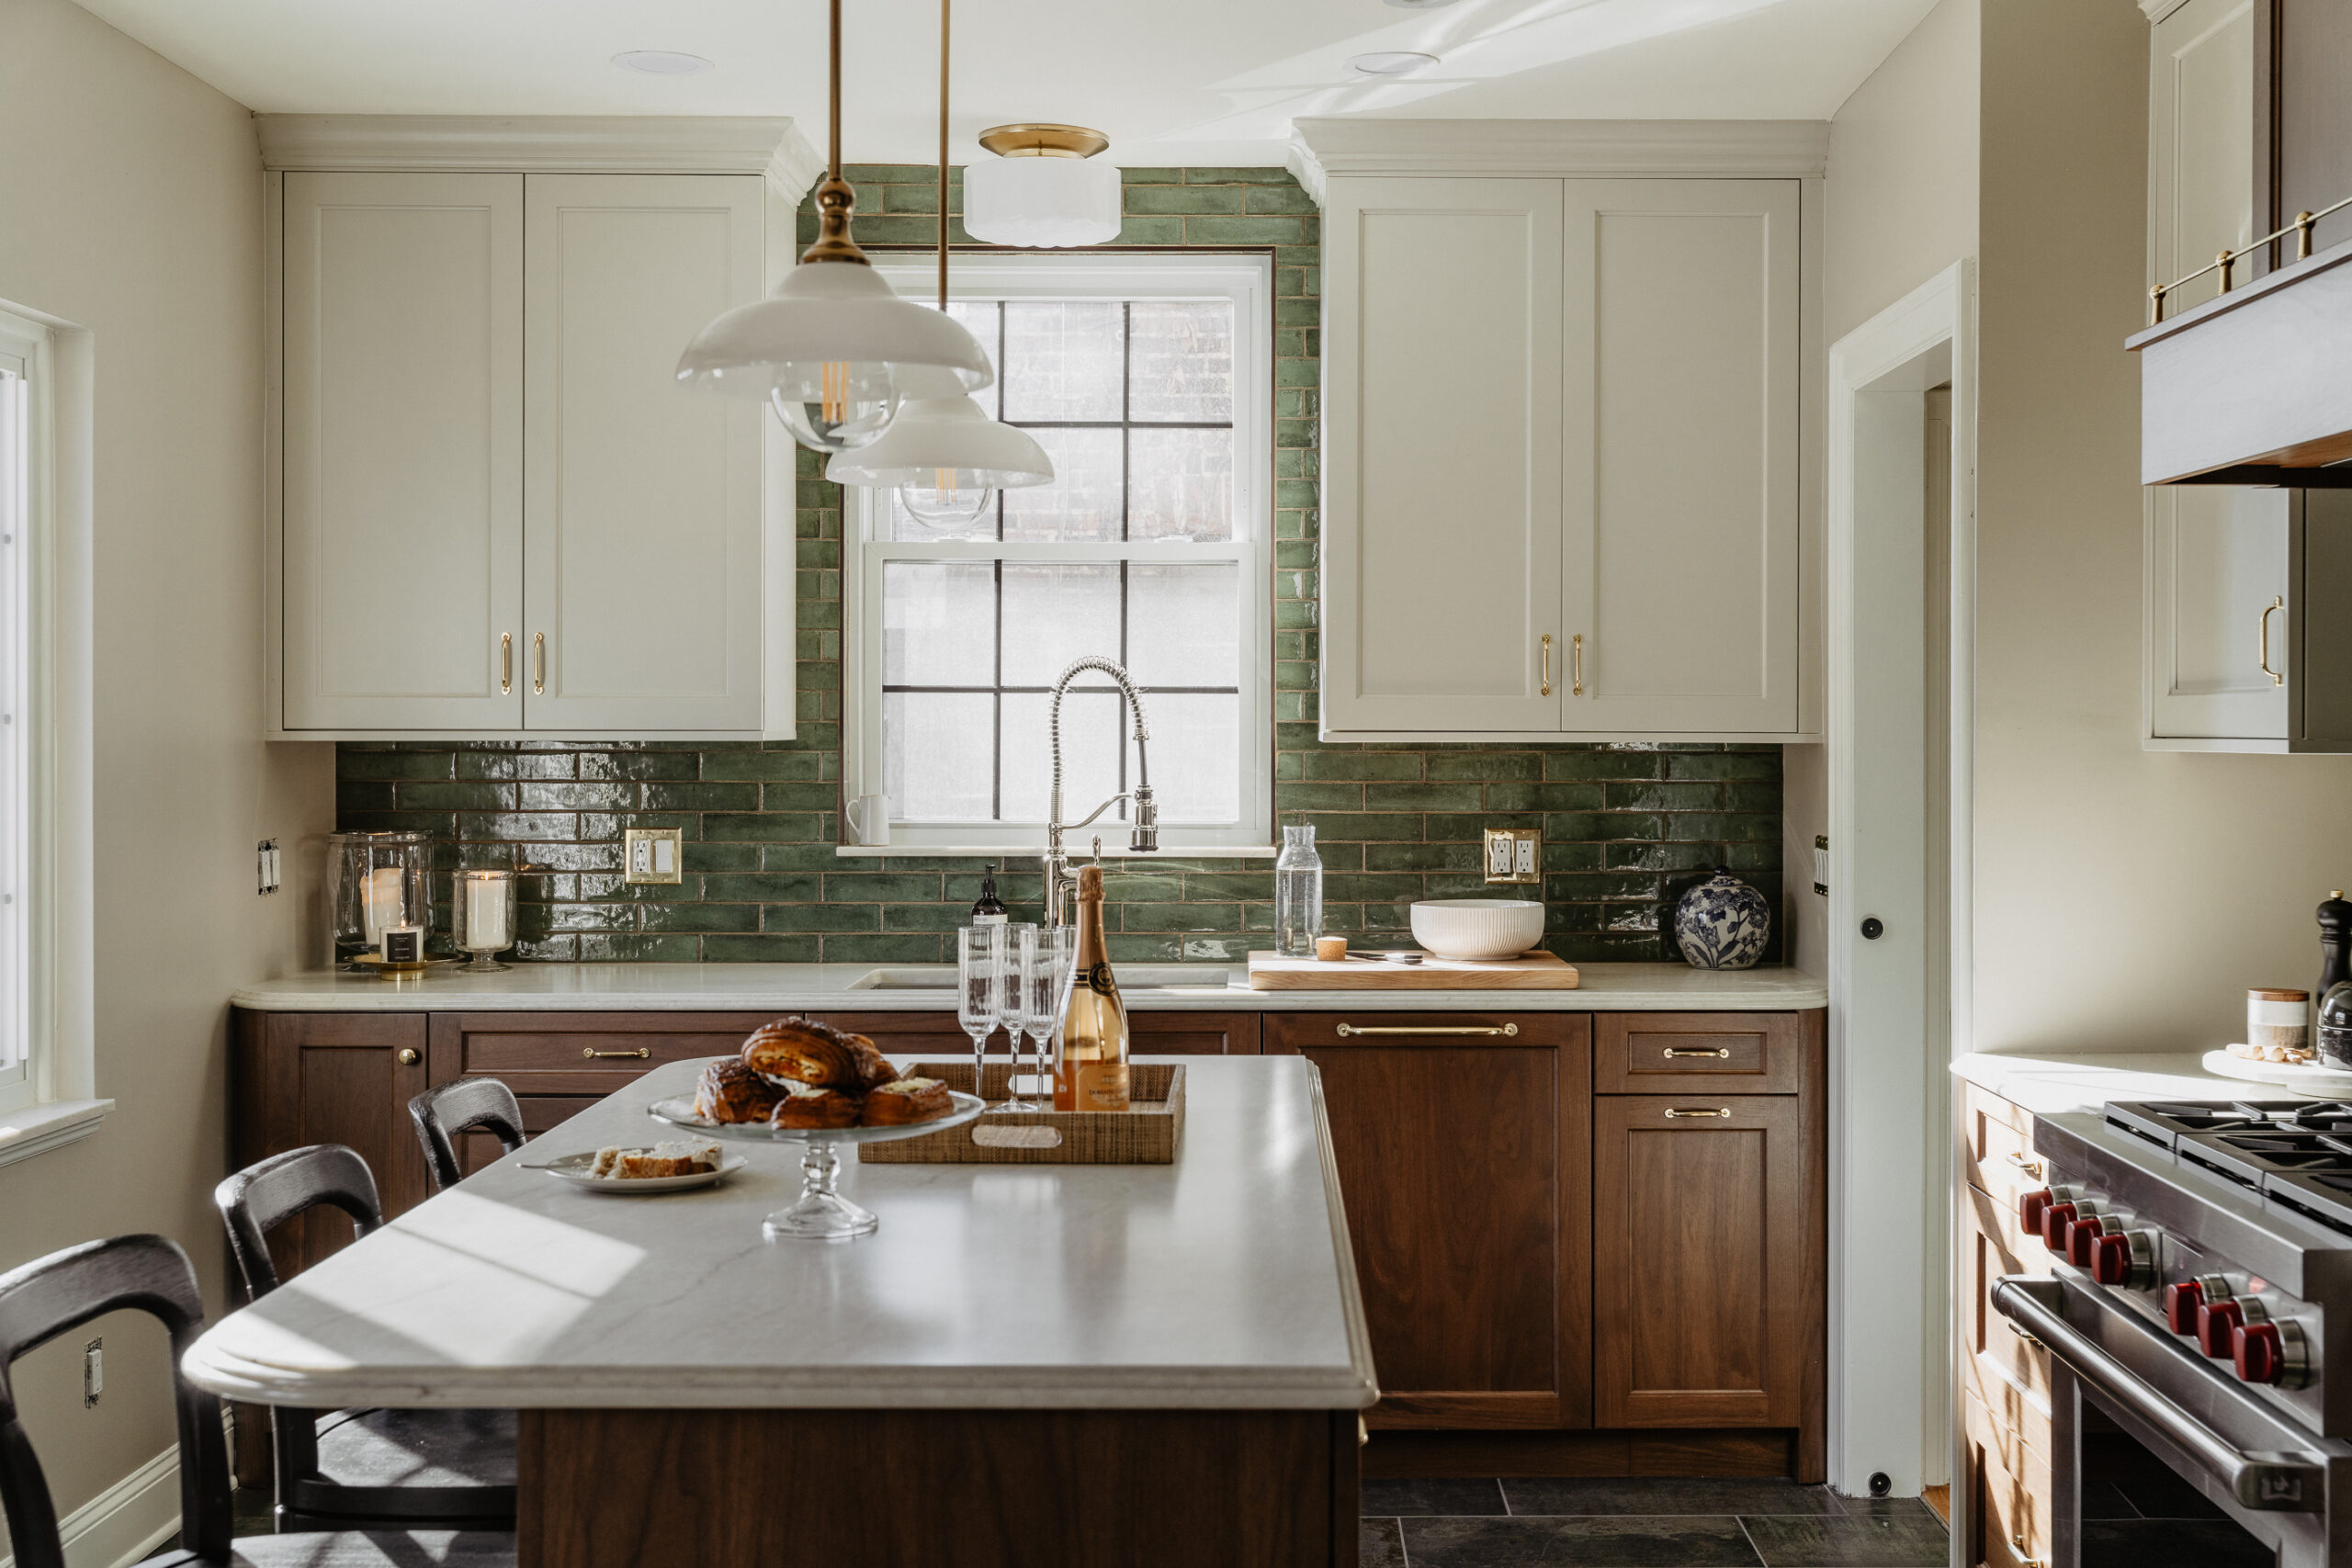
Kitchen islands are wildly popular for good reason. In the course of a day, the same counter can be a spot to prep dinner, drink coffee, work from a laptop, eat a meal, or gather with friends. One of the things our clients love most is having a place for their kids to hang out and do homework while they cook dinner. Everyone gets a little time together, even on a busy weeknight.
Start with the space around the island
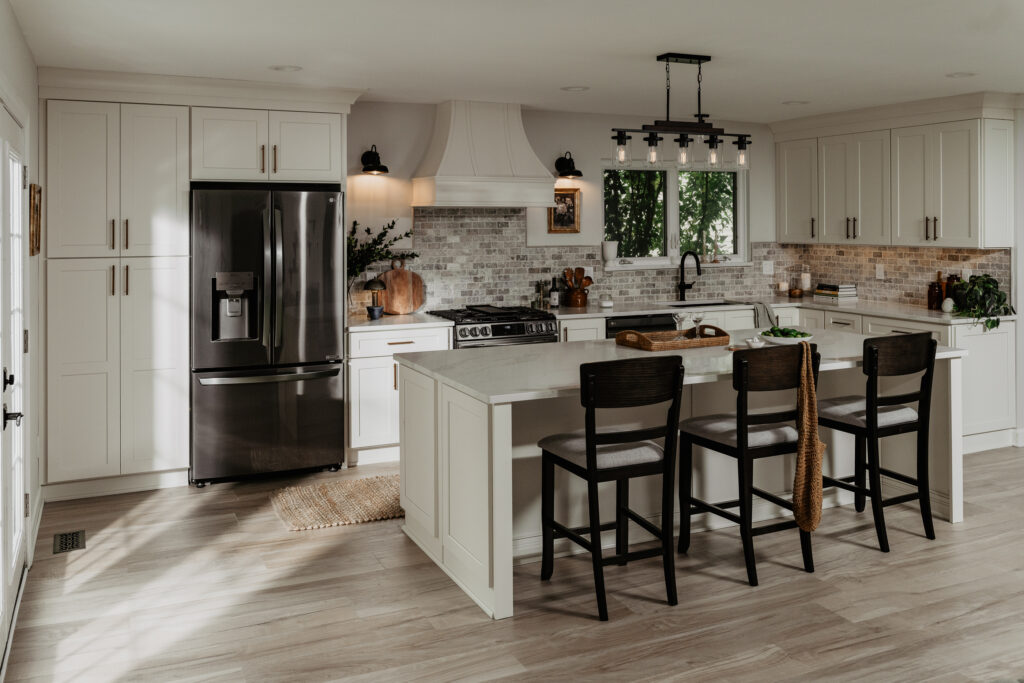
We start by looking at what happens around the island. Can you open the dishwasher and still get to the cabinets where the dishes go? Can someone walk behind the stools while they’re occupied? An island can look like it fits on a floor plan until you draw in the open refrigerator door, a pulled-out drawer, or a person sitting at the counter.
Go too small and you may end up with too little overhang to tuck in the stools or enough seats on paper but everyone sitting elbow to elbow. We typically plan for at least 24 inches of width per person. A few extra inches per seat feel more generous, especially if the stools have arms or the kids tend to spread out their homework.

For knee room, our typical starting points are 12 inches of overhang at bar height, 15 inches at counter height, and 18 inches at table height. Counter height and the leg length of the people using the island both matter. We also account for any countertop supports so they don’t land where someone’s knees should go. You may want to use a larger radius on the corners of the island overhang to avoid sharp corners that can bruise your hips if you bump them while walking by.
Depth matters for everyday cleanup, too. Once an island gets deeper than 4 feet, reaching the middle to wipe it down can get awkward, especially if seating or cabinetry limits access from one side.
Check the slab size before you finalize the layout
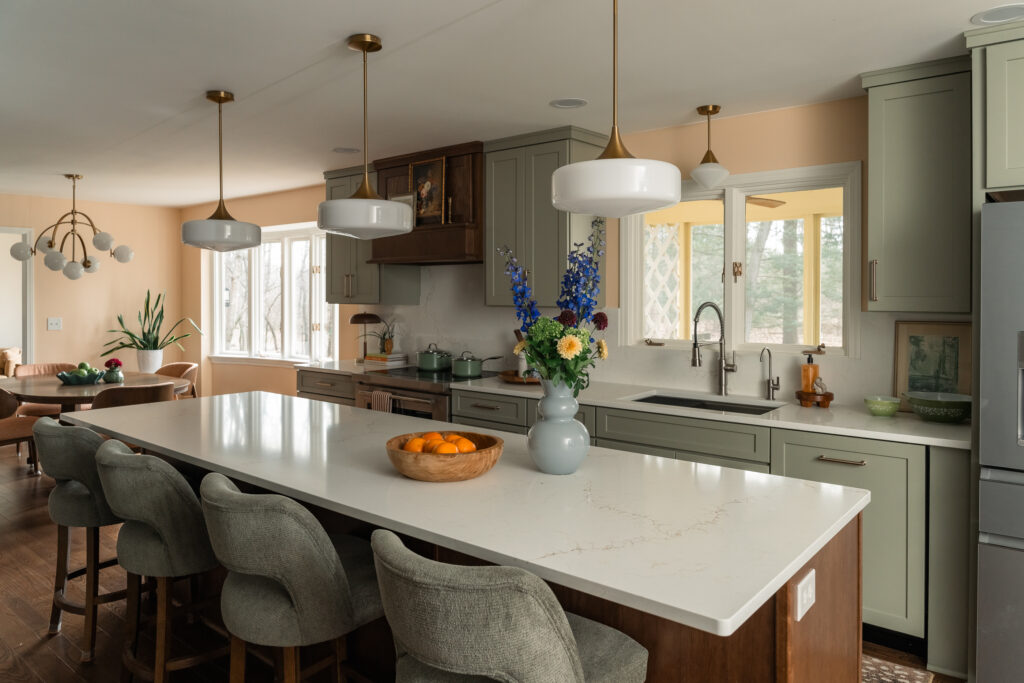
If your countertop material comes in 120-inch lengths, a 10-foot-1-inch island will need a seam, assuming that’s the longest usable slab available. Even a 10-foot island can be tight if the fabricator needs room to trim the edges or work around a flaw. We like to confirm the usable slab dimensions early, especially with strongly veined stone where the seam location will be more visible.
Should the sink or cooktop go in the island?
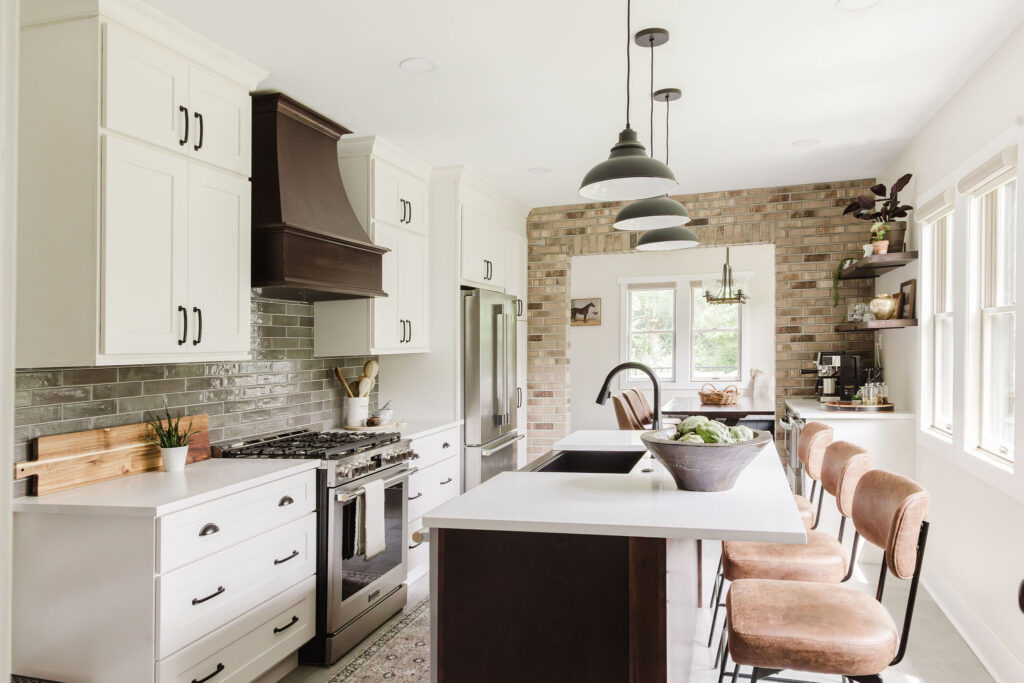
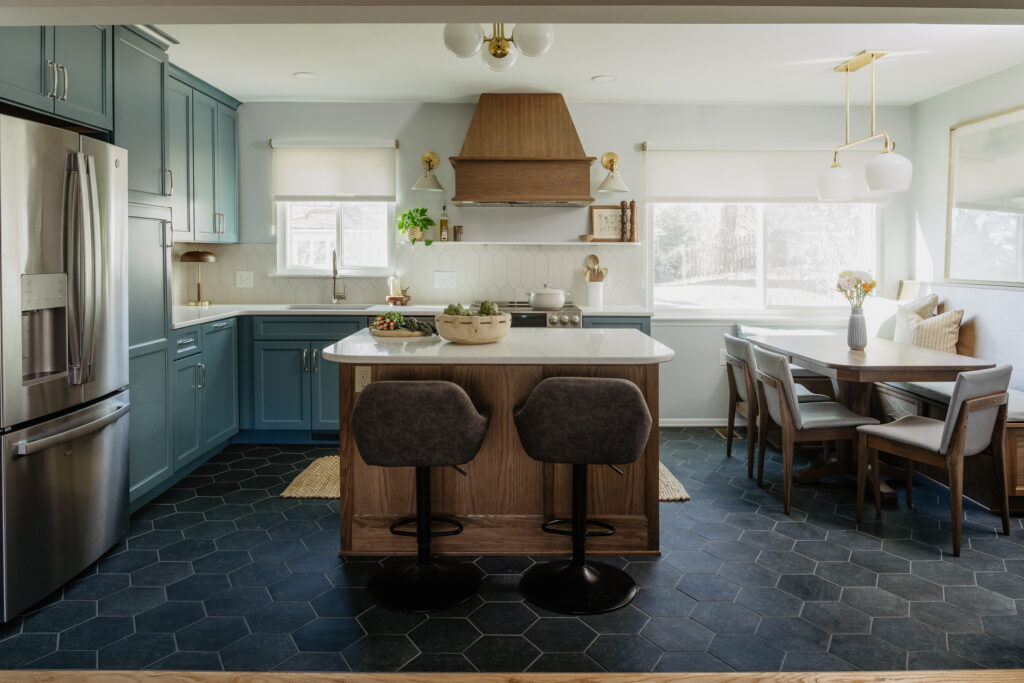
An island sink lets you rinse produce, prep dinner, or wash dishes while facing your guests or keeping an eye on kids playing nearby. When the sink goes in the island, we typically put the dishwasher and a pull-out trash cabinet there, too. You can scrape plates, rinse them, and load the dishwasher without crossing the kitchen. The trade-off is that anyone sitting at the island can see the dirty dishes in the sink. For some families, that’s no big deal.
An island cooktop also lets you face your guests or keep an eye on the kids while you cook. Think about ventilation early, particularly if you’re planning pendants over the island. An overhead hood can be bulky and interrupt the view across the island, so it helps to picture the hood at its installed height when you’re weighing the layout.
Plan for power early
An outlet at the island is handy for a mixer, a phone charger, or a laptop. Where it goes matters. A slow cooker plugged into the end of an island can leave a cord dangling within reach of a young child, who could pull the hot appliance down.
The 2023 National Electrical Code changed how outlets serving island and peninsula countertops are handled. It made the outlet optional, with provisions required for a future outlet if one is omitted. If you install an outlet to serve the countertop, the old location below the counter on the cabinet end is no longer a permitted location under that edition. For a Michigan remodel, have your electrician confirm which rules apply with the local building department.
A pop-up outlet listed for countertop installation can keep a small appliance cord on the work surface. An in-drawer outlet or docking station can be a good option for charging phones out of sight. We plan drawer charging separately from power for countertop appliances and coordinate both with the electrician before the cabinets and countertops are ordered.
Choose lighting that suits the island
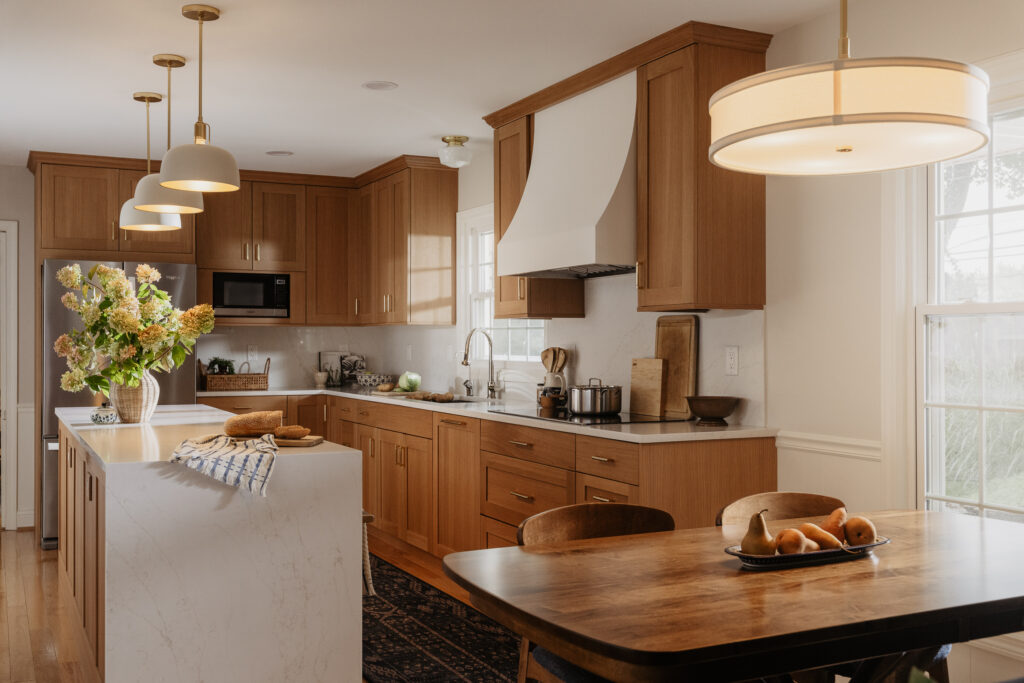
We often hang decorative pendants or a statement fixture over an island. The shape, size, and style of the island help us decide what feels right. A long island might have room for a pair of generous pendants, while a compact island may look better with one fixture.
I usually recommend 30 to 36 inches from the countertop to the bottom of the pendants. The exact height is personal. Some people like the lights a little lower, where the shades hide the bulbs from view. Others prefer them higher so they can talk to someone across the island without a pendant in their line of sight.
My favorite trick is to hang a balloon from a string where the pendant will go. Adjust the string so the bottom of the balloon lands at a few different heights in that range. Then sit on a stool and stand on the prep side to see how each height feels.
Give the island its own finish
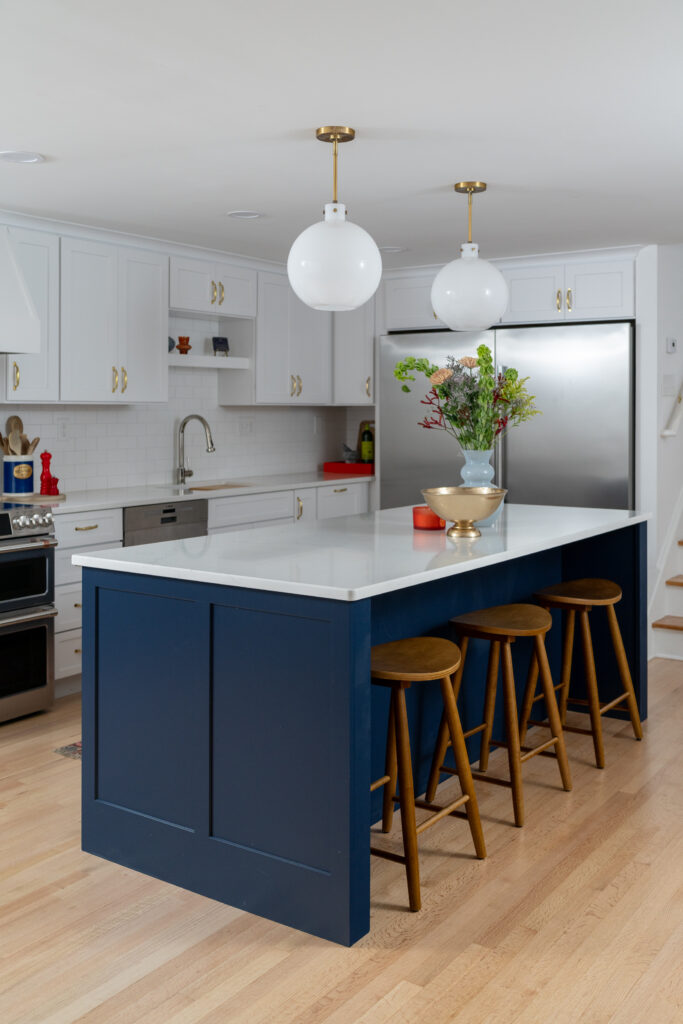
Using the same countertop throughout the kitchen gives the room a consistent look. If you’ve fallen for a statement stone with bold veining, the island is a great place to use it. A quieter slab on the perimeter gives that stone room to stand out. You can take the same approach with cabinetry. In our Storage Meets Style Kitchen, we paired white perimeter cabinets with a navy island for contrast.
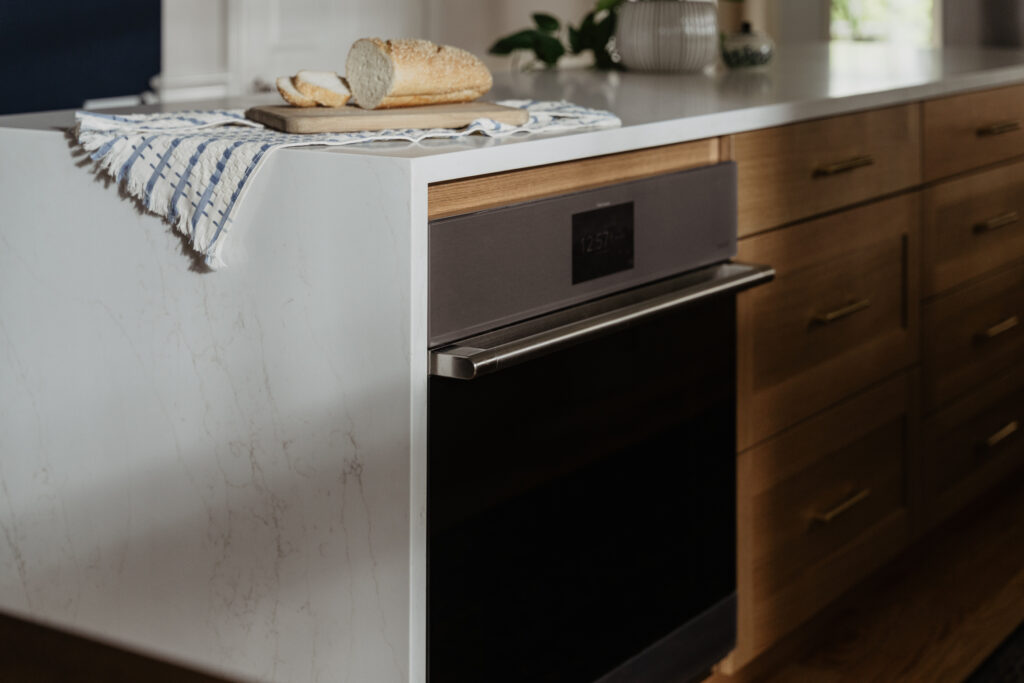
Think about what you’ll see from the adjoining rooms, too. Wainscot panels can give the back and ends of an island the look of a piece of furniture. A waterfall end brings the countertop material down to the floor and shows off more of the slab. Plain finished ends and a simple back can save some money and look right at home in a kitchen with clean cabinet lines.
When we design an island, we think about what it needs to do on a typical Tuesday. If there’s room to unload the dishwasher, spread out a homework sheet, and pull up a stool without bumping elbows, the island is doing its job.
Dreaming of a new kitchen with an island? Your first step is to reach out to us to book a call to discuss your project.
Leave a Reply